Bulk add group members in Microsoft Entra ID
Bulk import group members
Sign in to the Microsoft Entra admin center as at least a Groups Administrator.
Navigate to Identity.
Select Groups > All groups.
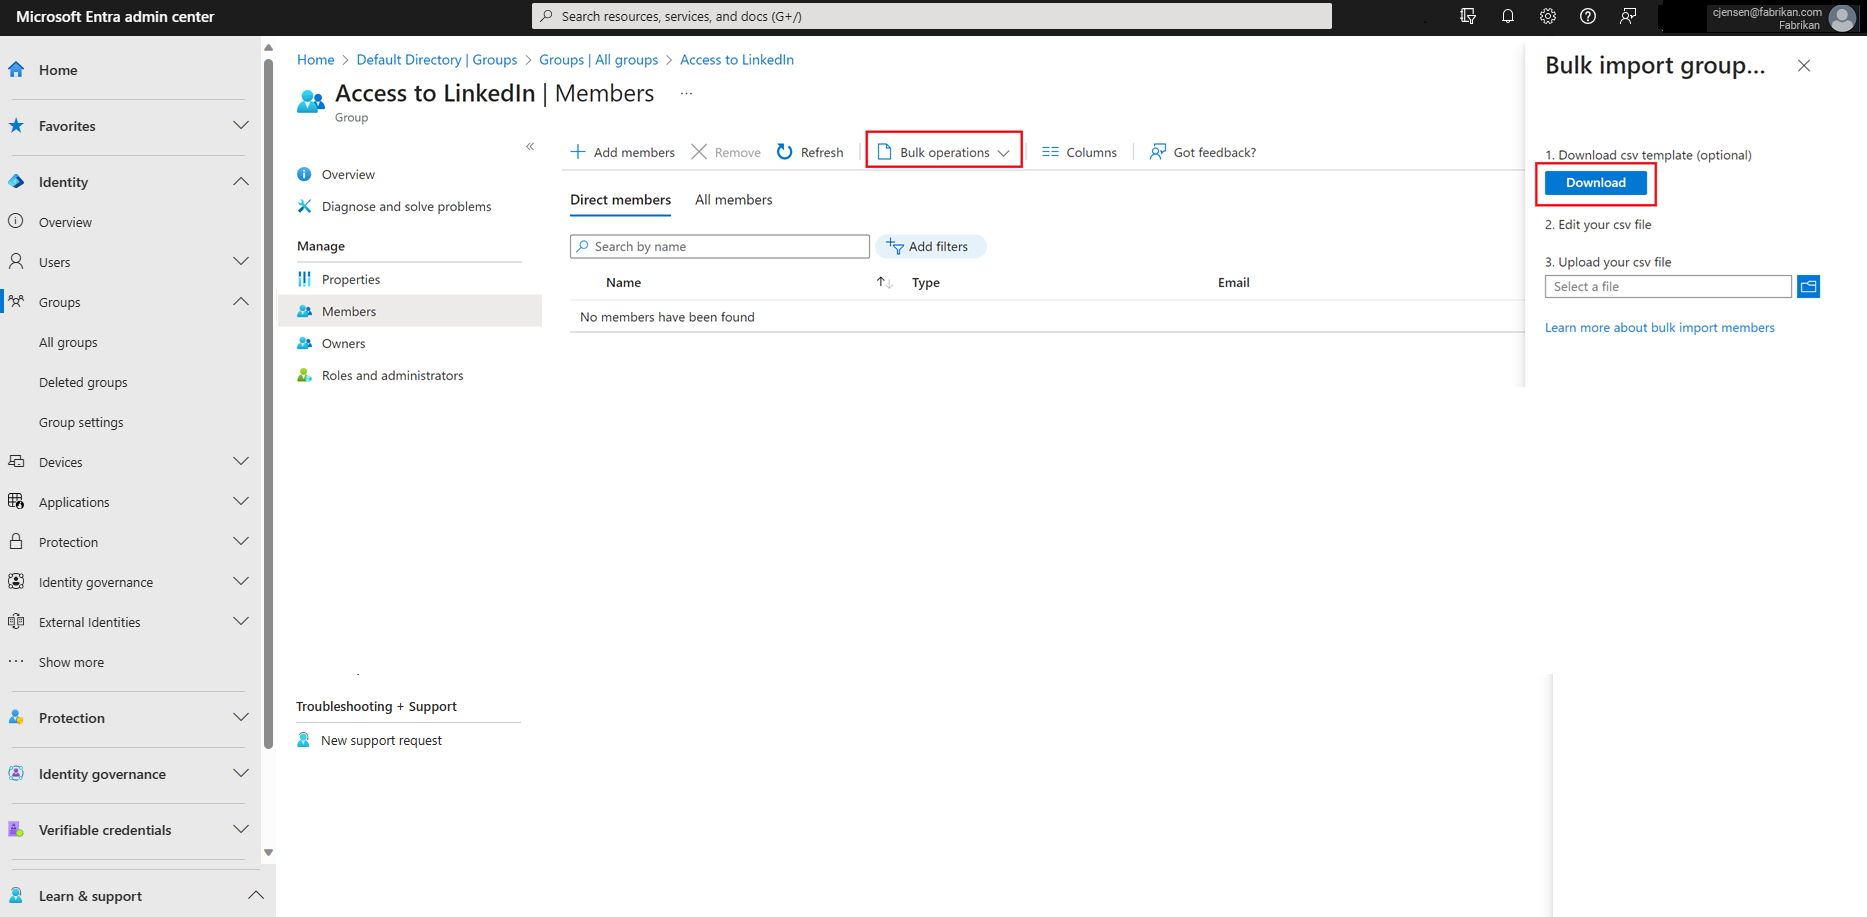
Open the group to which you're adding members and then select Members.
On the Members page, select bulk operations and then choose Import members.
On the Bulk import group members page, select Download to get the CSV file template with required group member properties.
Open the CSV file and add a line for each group member you want to import into the group. Required values are either Member object ID or User principal name. Then save the file.

On the Bulk import group members page, under Upload your csv file, browse to the file. When you select the file, validation of the CSV file starts.
When the file contents are validated, the bulk import page displays File uploaded successfully. If there are errors, you must fix them before you can submit the job.
When your file passes validation, select Submit to start the bulk operation that imports the group members to the group.
When the import operation finishes, a notification states that the bulk operation succeeded.
Related Articles
Add a user or contact to a Microsoft 365 distribution group
Steps In the Microsoft 365 admin center, select Teams and groups > Active teams and groups > Distribution list. On the group page, select the name of the group you want to add a contact to. On the Members tab, under Members, select View all and ...Create and add members to a distribution list
As the admin of an Office 365 organization, you may need to add one of your users or contacts to a distribution list. For example, you can add employees or external partners or vendors to an email distribution list. Create a distribution list (group) ...Add additional email aliases to a user
A primary email address in Microsoft 365 is usually the email address a user was assigned when their account was created. When the user sends email to someone else, their primary email address is what typically appears in the From field in email ...How to add Team Venti as Digital Partner of Record for Azure
NOTE: Assignment of Digital Partner of Record (DPOR) will need to be set for each subscription in the portal. How to set Team Venti as Digital Partner of Record (DPOR) for Azure. Login to your account at https://portal.azure.com. From the left ...Create shared mailboxes in Office 365
Create shared mailboxes so a group of people can monitor and send email from a common email addresses, like info@contoso.com. When a person in the group replies to a message sent to the shared mailbox, the email appears to be from the shared mailbox, ...