Automatically store incoming e-mails in a folder
In Microsoft Outlook, creating a rule that files all mail from a specific address to a certain folder is easy. If you don't already have a folder set up for this purpose, create a new folder for the individual's email by right-clicking your inbox folder and selecting New Folder.
Instructions in this article apply to Outlook 2019, 2016, 2013, 2010, 2007; Outlook for Office 365; and Outlook on the web.
How to Send Emails to a Folder in Outlook 2019 and 2016
To send messages from a particular sender to a designated folder:
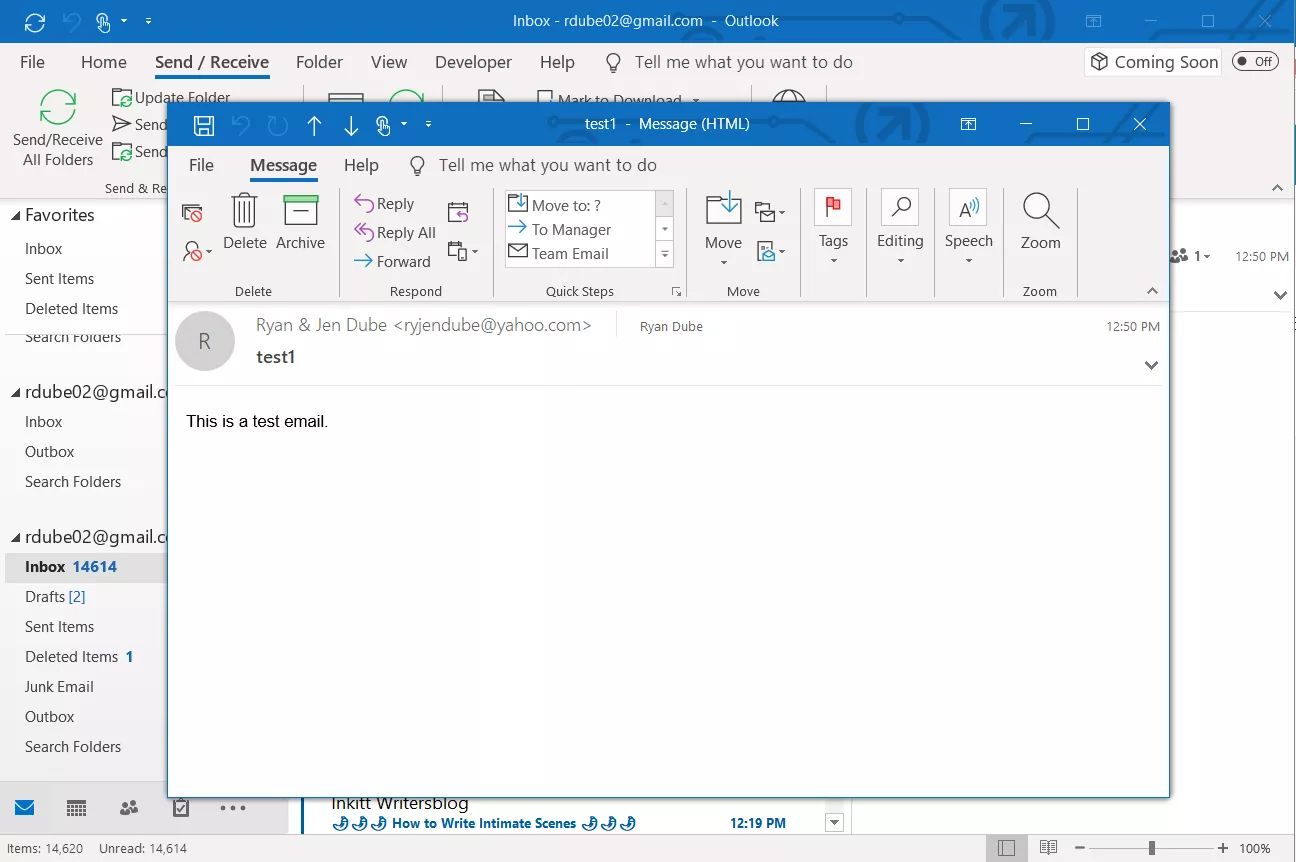
Open an email from the sender whose messages you want to filter.

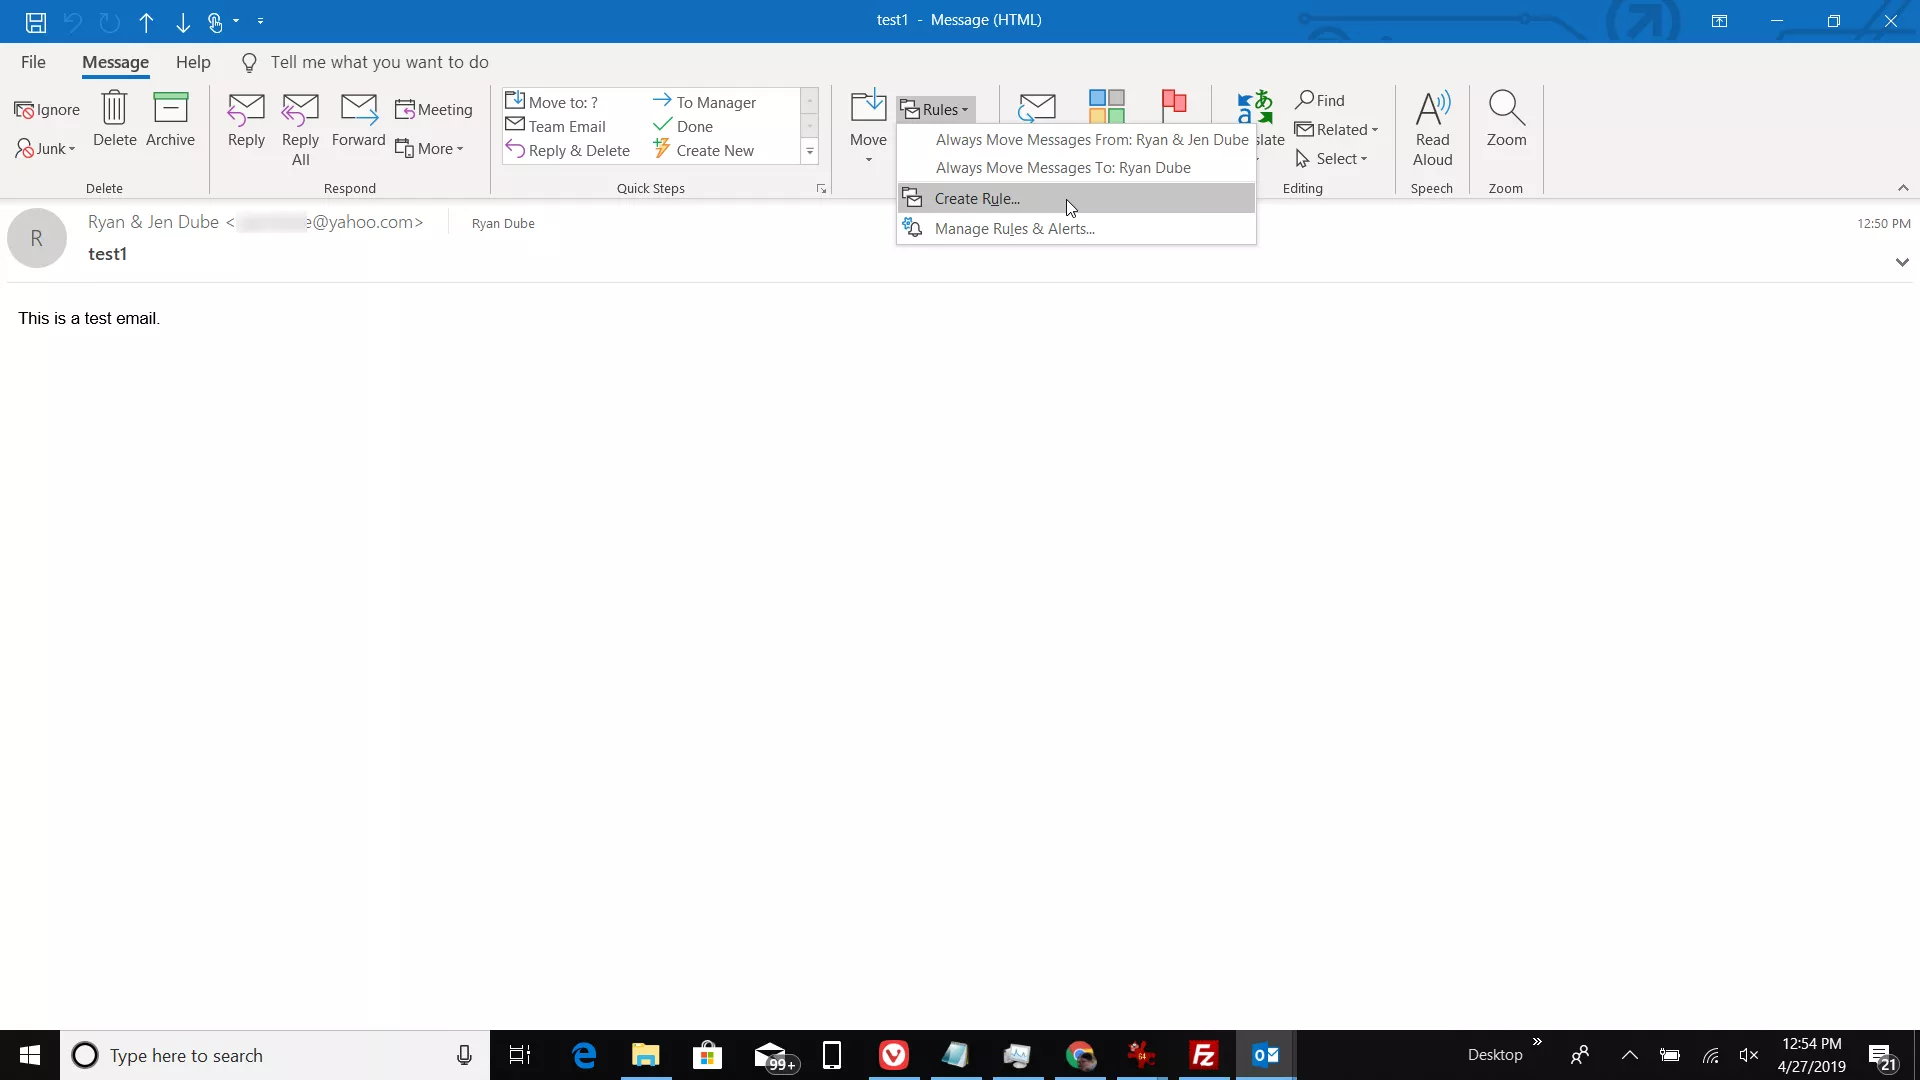
Go to Message and select Rules > Create Rule.

In the Create Rule dialog box, select the From [sender] check box.

In the Do the following section, select the Move the item to folder check box.
In the Rules and Alerts dialog box, choose the folder where incoming messages from the sender will be moved.
To create a new folder, select New, enter a name for the folder, and select OK.

Select OK when you're done. New emails you receive from the specified sender are stored in the folder you selected.
Related Articles
365 Cloud Store Portal
You can sign-in to our Microsoft 365 self-management billing portal at https://portal.365cloudstore.com/#/ by using your existing Microsoft 365 admin credentials. Note: If you get a permissions error but you are an admin, or you feel you should be ...Access your e-mail on iPhone - Outlook for iOS App
Setup Outlook for iOS for the first time Open the Outlook for iOS app on your iOS device. Select Add Account to add one of your existing email accounts, or Create New Account if you want to create a new Microsoft account. If you select Add Account, ...Forward an Office 365 e-mail address to an external address without a mailbox.
1. Go to https://portal.office.com/ as an administrator, then look for the "Admin" tab. 2. On the left sidebar, under Admin Centers click on Exchange. 3. In the Exchange Admin Center, click on Recipients > Contacts, as shown below. Then click on the ...Setup e-mail forwarding as an Admin in the Office 365 Admin Center
To setup e-mail forwarding as an Administrator, please follow the instructions below: 1. In the admin center, go to the Users > Active users page. 2. Select the name of the user whose email you want to forward, then open the properties page. 3. On ...Access your e-mail on Android - Outlook for Android
Set up Outlook for Android for the first time Open the Outlook for Android app on your Android device. Select Add Account to add one of your existing email accounts, or Create New Account if you want to create a new Microsoft account. If you select ...